Run your first app on the Android Emulator
Before you begin
In this codelab, you’ll take the Greeting Card app you built, set up an Android Virtual Device (AVD), and see your code in action on an Android Emulator.
Prerequisites
Knowledge of how to set up, configure, and use apps, such as a word processor or a spreadsheet.
What you’ll learn
How to create an AVD and run an app on the Android Emulator
What you’ll build
A basic Android app from a template
What you’ll need
A computer with Android Studio installed
Eye Power
Run your app on the Android Emulator
In this task, you’ll use the Device Manager to create an Android Virtual Device (AVD). An AVD is a software version, also called an emulator, of a mobile device that runs on your computer and mimics the configuration of a particular type of Android device. This could be any phone, tablet, TV, watch, or Android Auto device. You’ll use an AVD to run the Greeting Card app.
Note
The Android Emulator is an independent app used to set up a virtual device and it has its own system requirements. Virtual devices can use a lot of disk space. If you run into any issues, see Run apps on the Android Emulator.
Create an Android Virtual Device
To run an Android app in an emulator on your computer, you first create a virtual device.
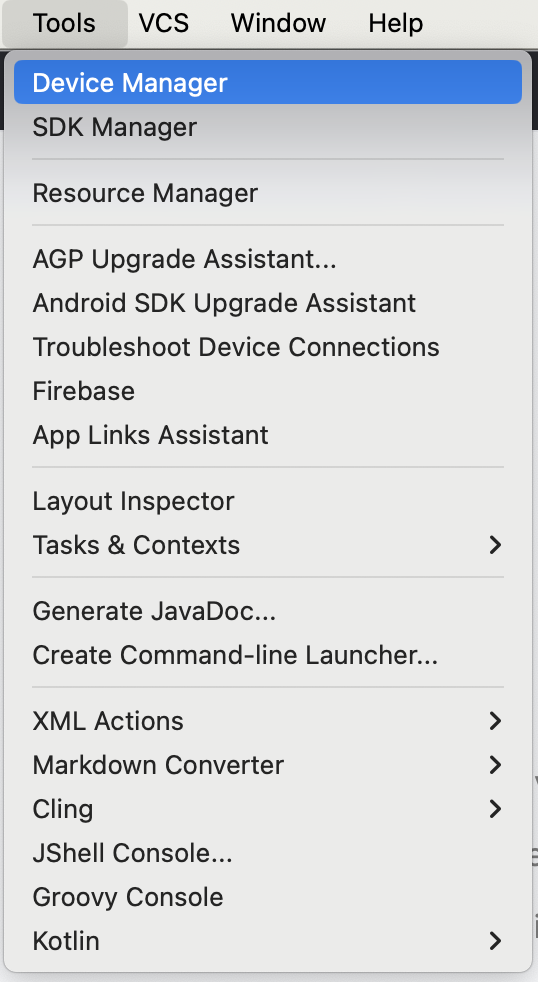
In Android Studio, select Tools ➜ Device Manager.
The Device Manager dialog opens. If you created a virtual device previously, it’s listed in this dialog.
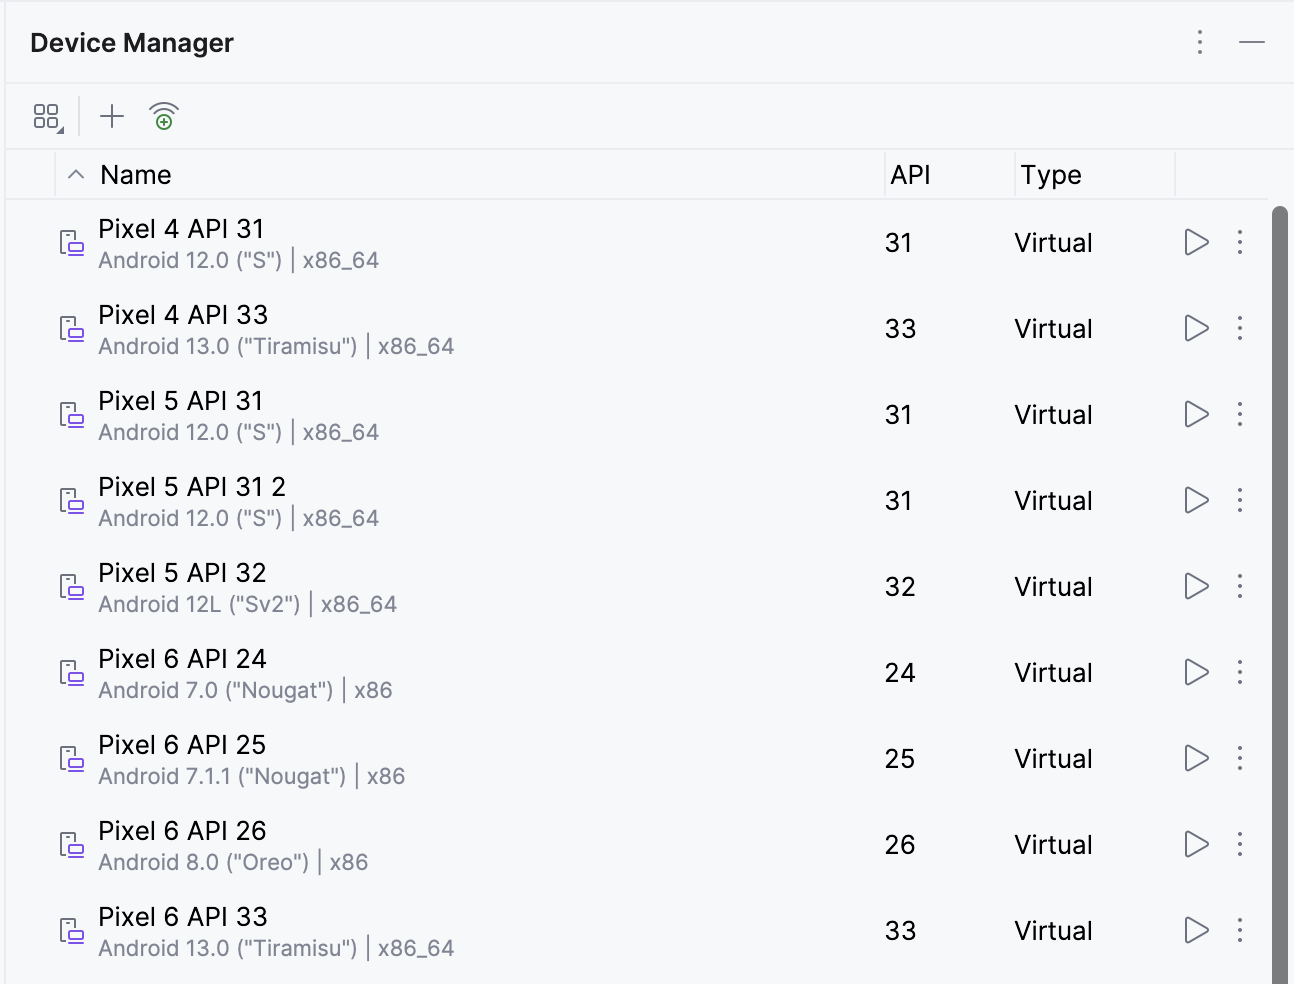
Click + (Create Virtual Device). The Virtual Device Configuration dialog appears.
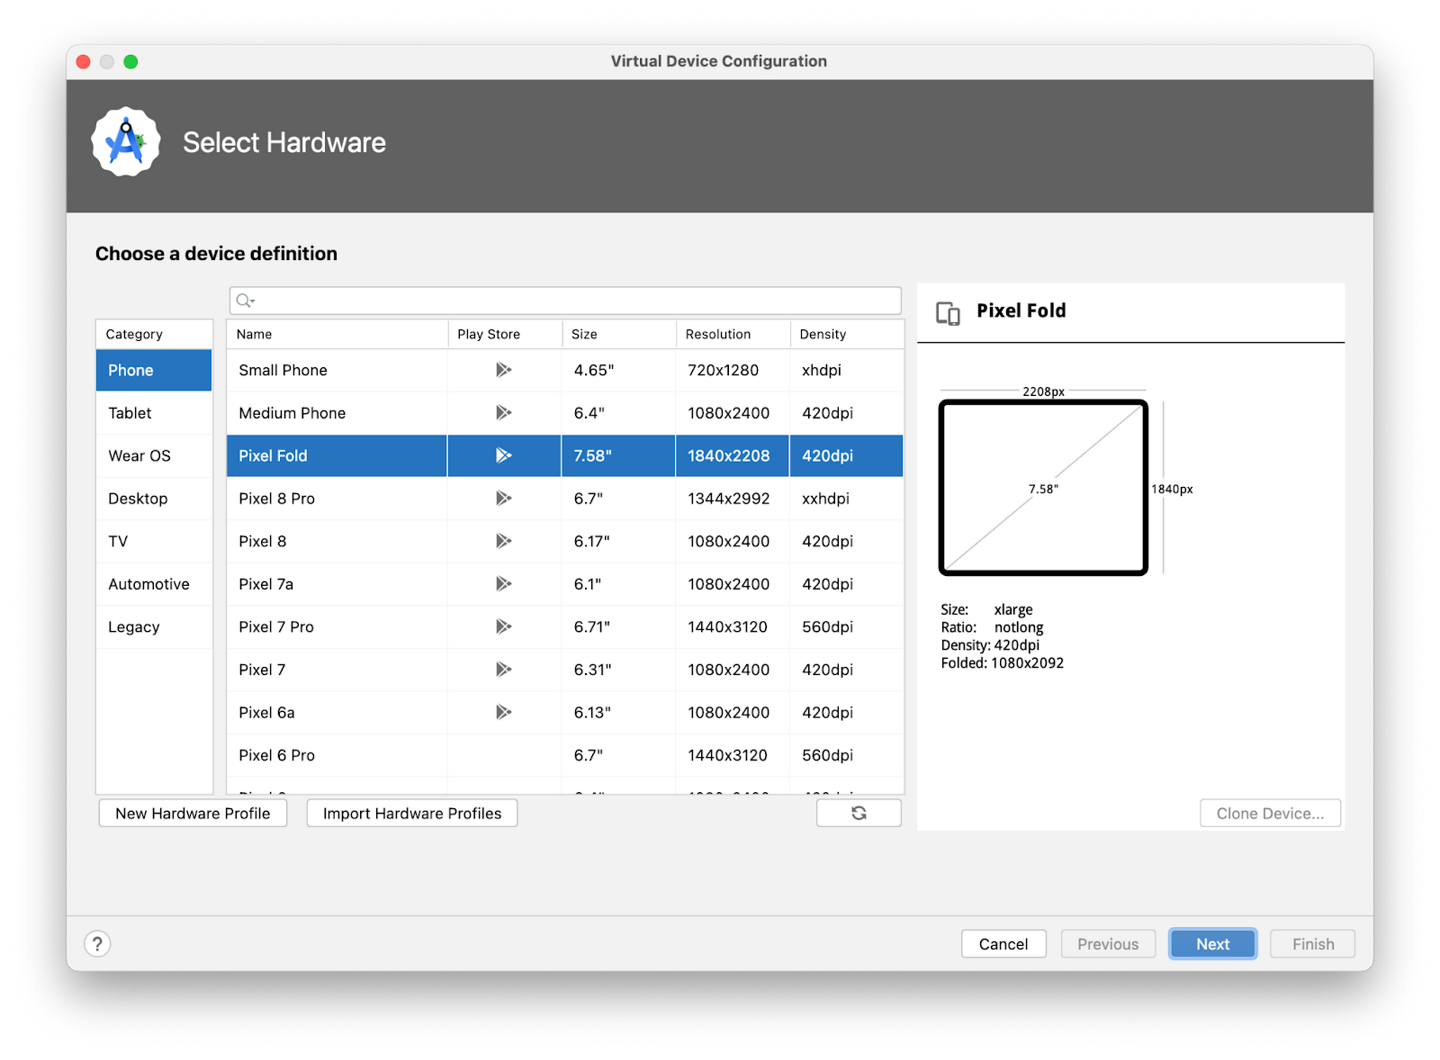
The dialog shows a list of pre-configured devices, organized by category, from which you can choose. For each device, the table provides a column for its display size (in inches), screen resolution (in pixels), and pixel density (number of pixels per inch).
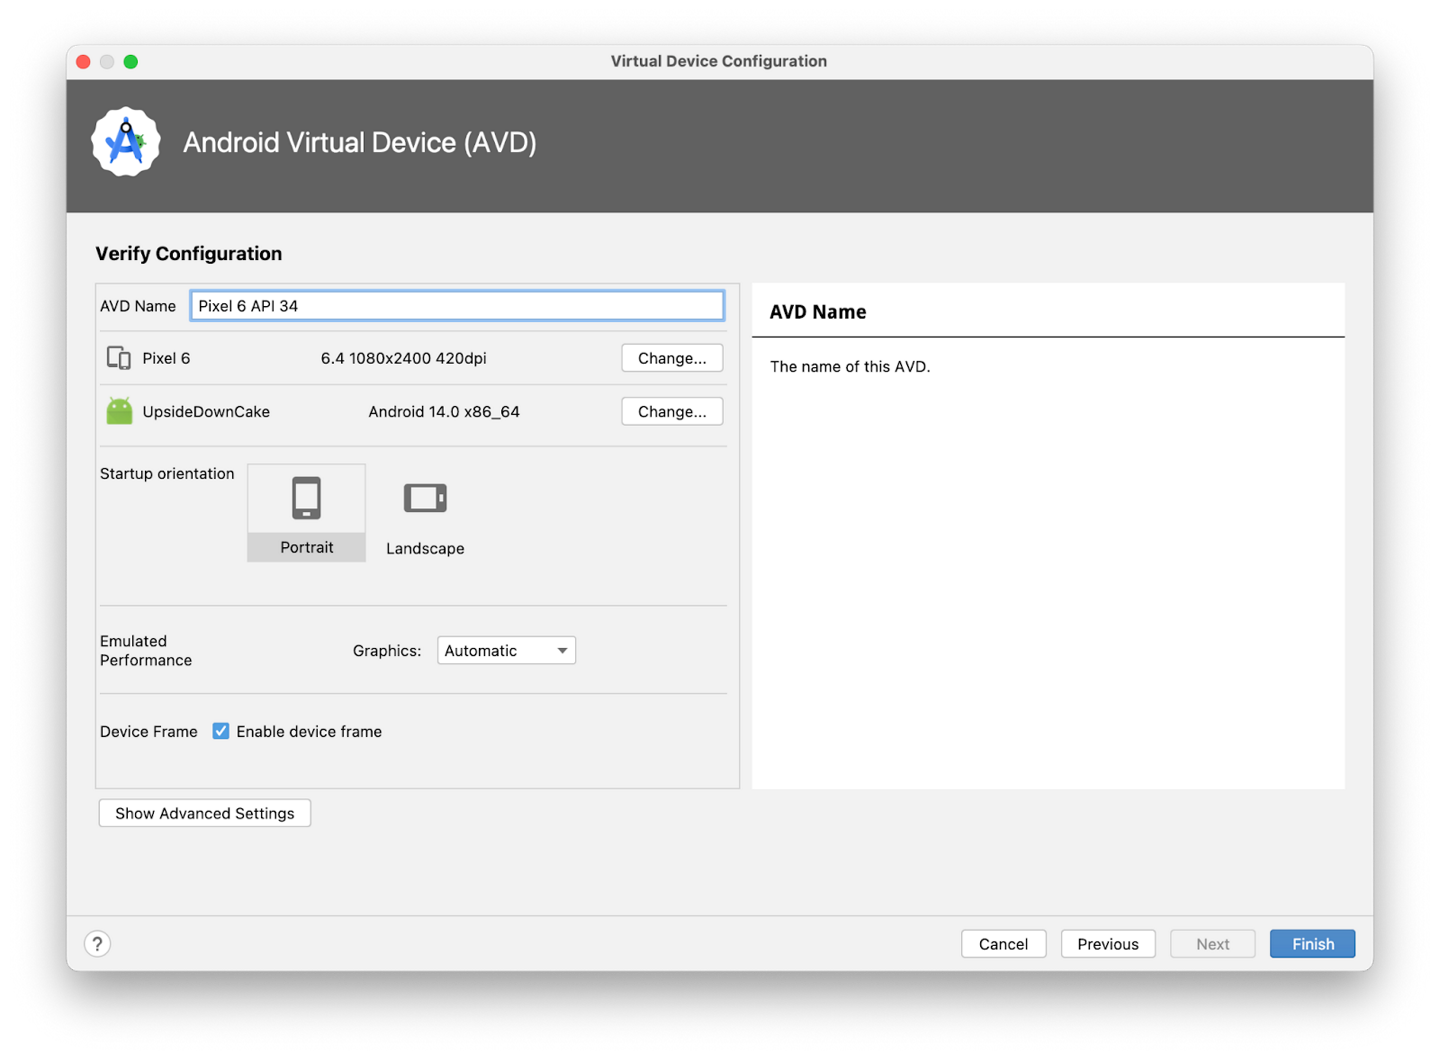
Select Phone ➜ Pixel 6 ➜ Next. This step opens another screen where you can choose the version of Android to run on your virtual device. This lets you test your app on different versions of Android.
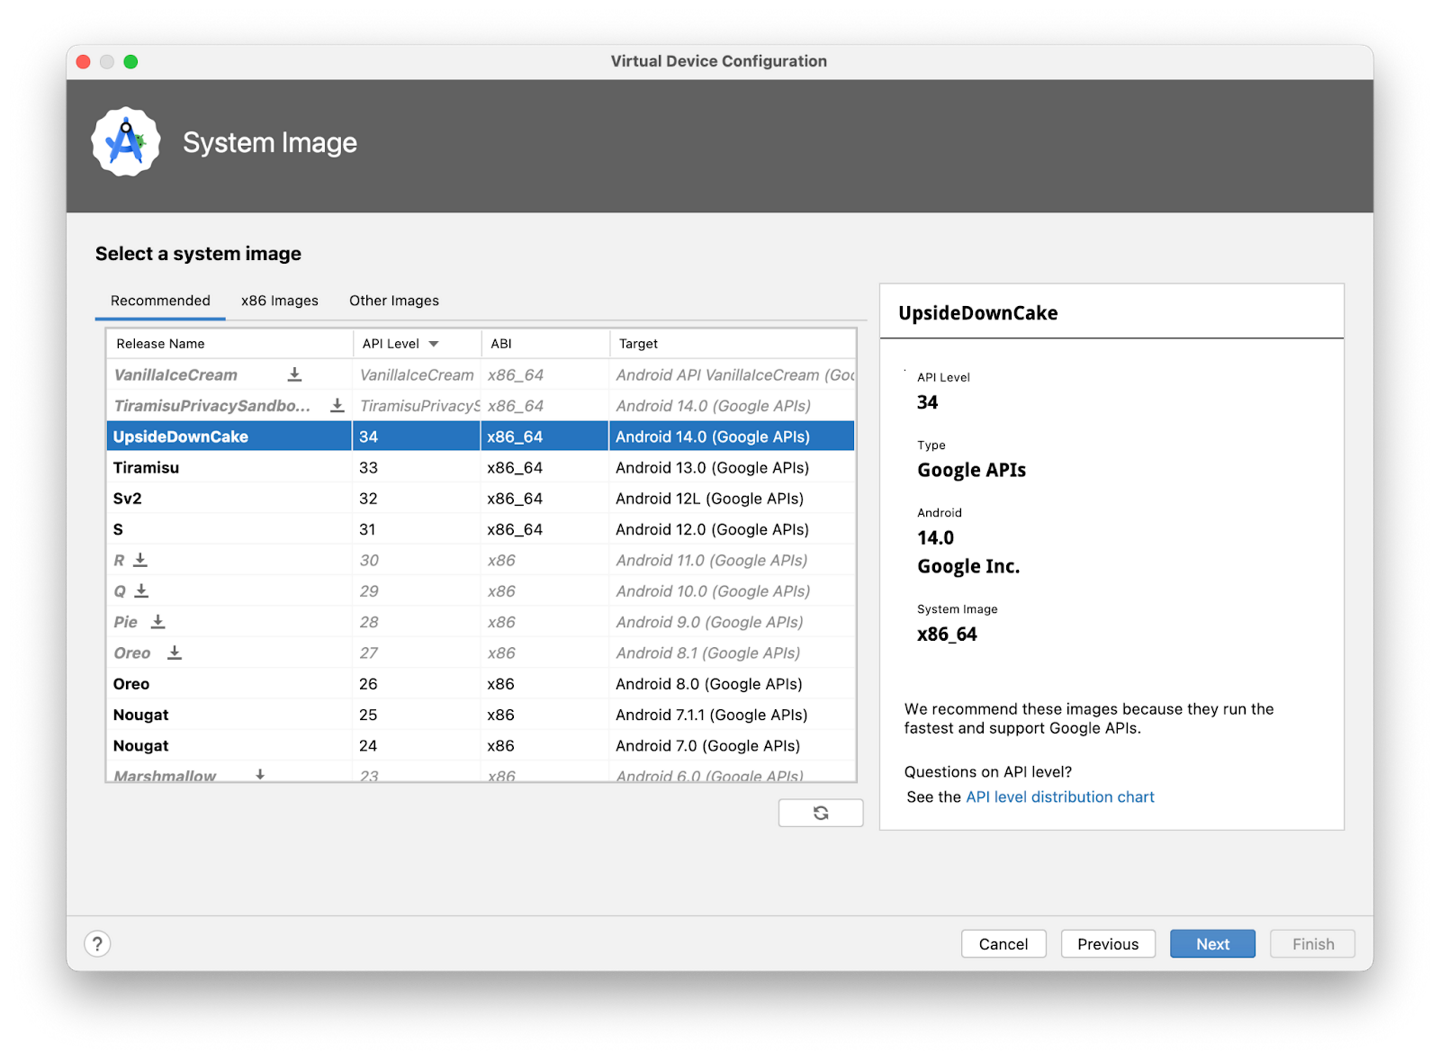
If there’s a download link next to UpsideDownCake, click Download ➜ Accept ➜ Next ➜ Finish. The presence of the download link indicates that the image isn’t installed on your computer, in which case you must install the image before you can configure the virtual device. Expect the download to take some time to complete.


In the Recommended tab, choose UpsideDownCake as the version of Android to run on the virtual device, and then click Next.
Important
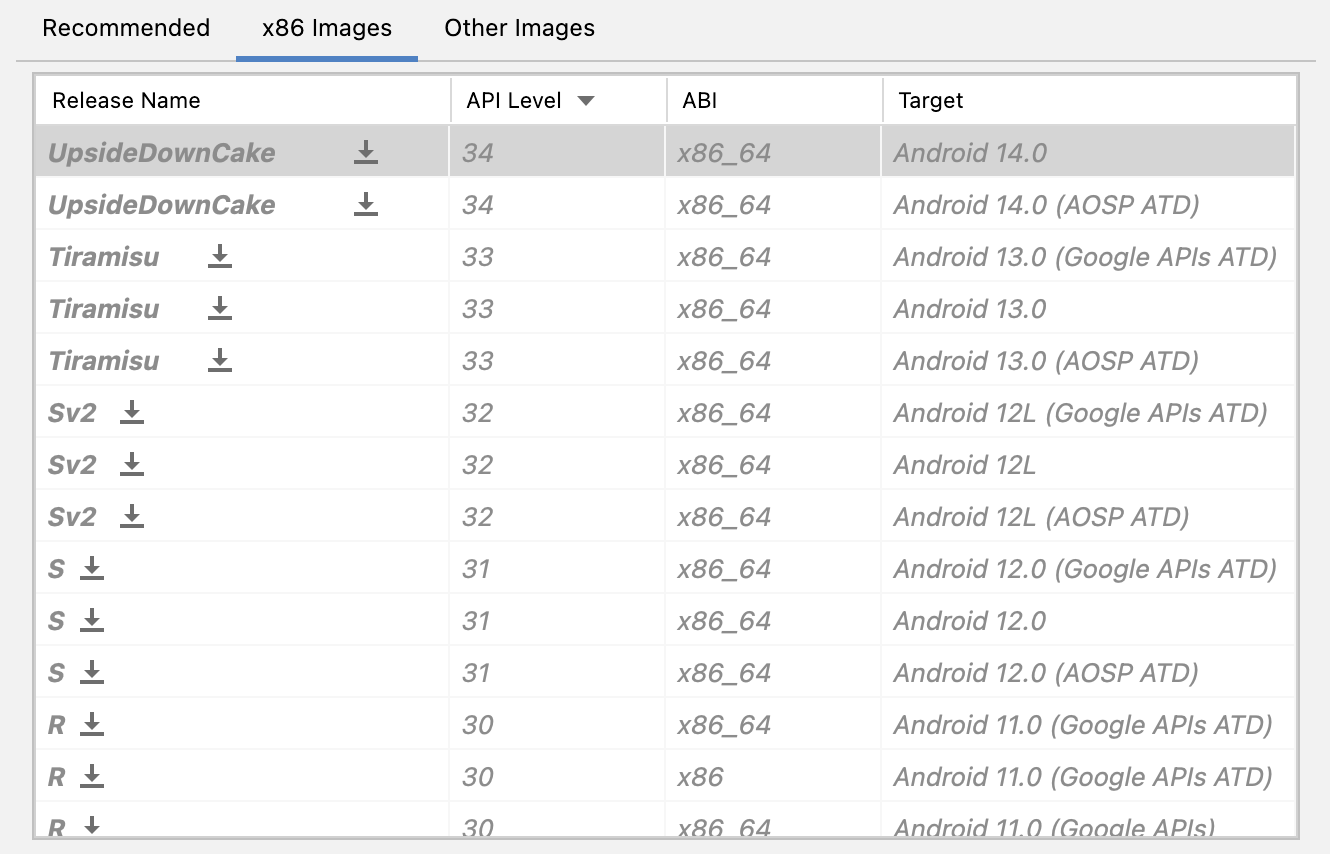
These Android system images use a lot of disk space, so only a few are part of your original installation. Many more versions of the Android system are available than are shown in the Recommended tab. To see them, look under the x86 Images and Other Images tabs in the Virtual Device Configuration dialog.
In the Recommended tab, choose UpsideDownCake as the version of Android to run on the virtual device, and then click Next.
This action opens another screen, where you can choose additional configuration details for your device. Leave the fields unchanged.
Note
If you see a red warning about using a system image with Google APIs, you can disregard it for now.
Click Finish. This action returns to the Device Manager pane.
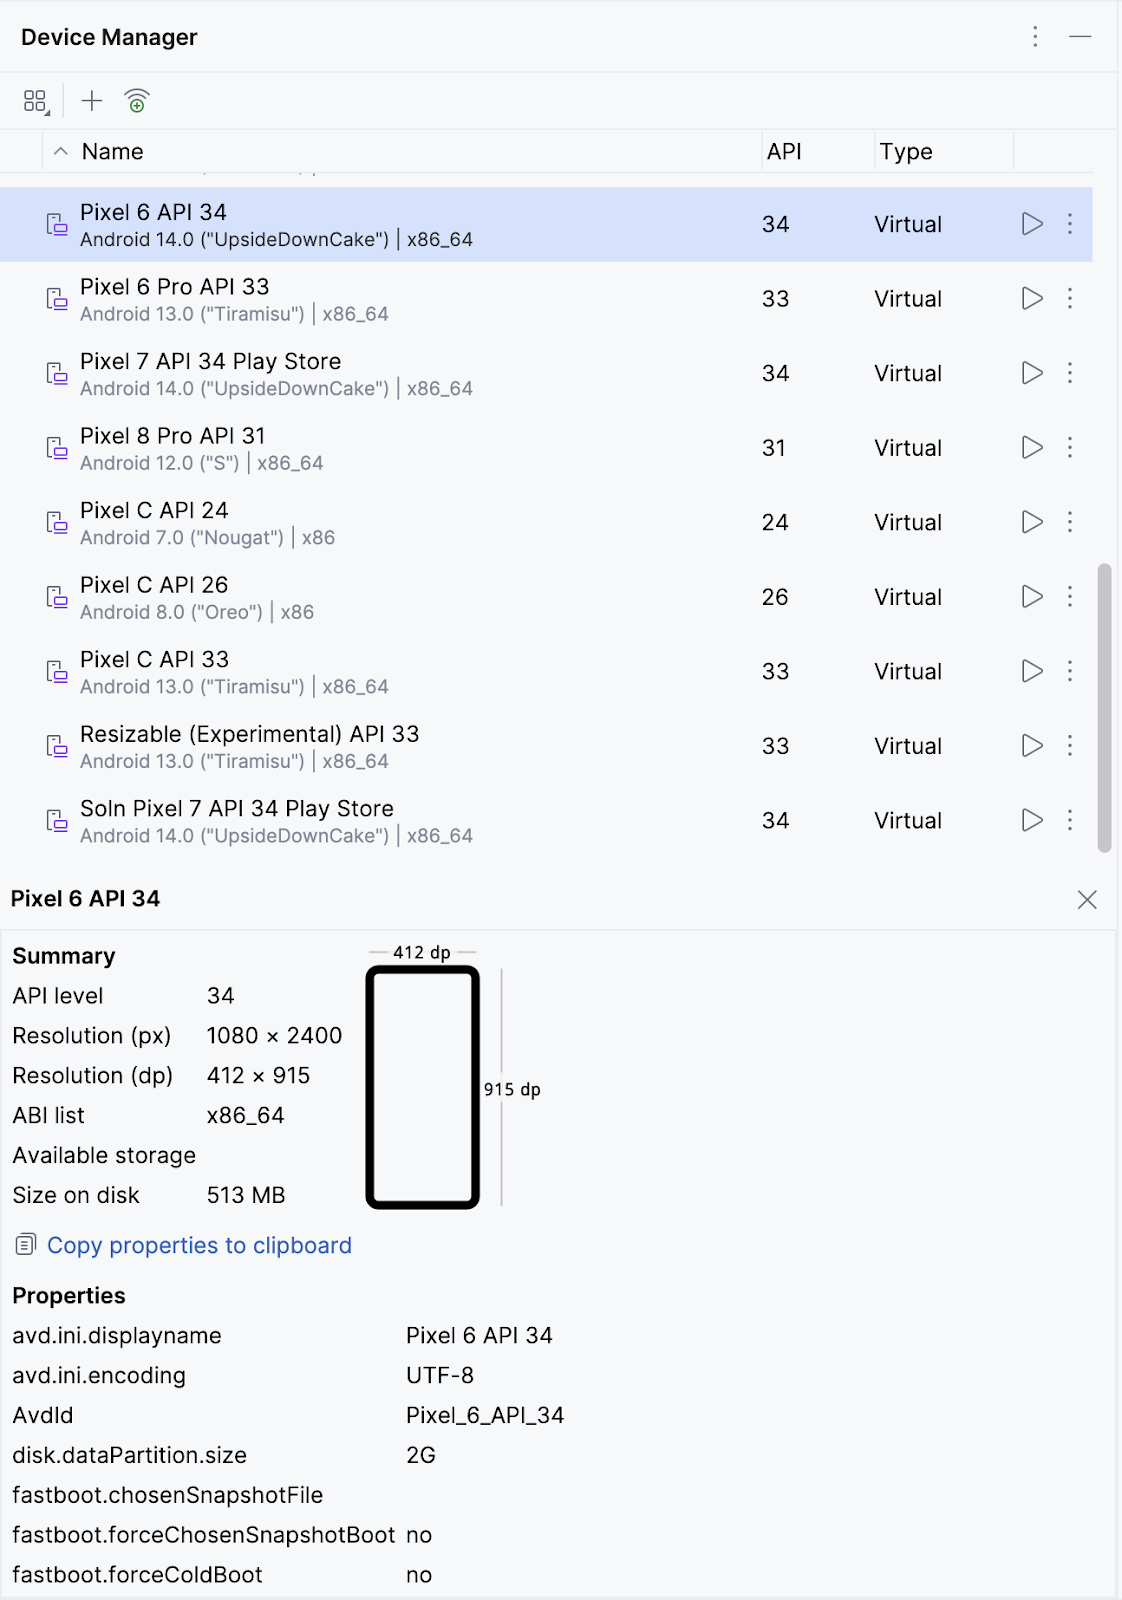
Hide the Device Manager dialog.
Run your app
Select the virtual device that you created from the dropdown menu at the top of the Android Studio window.

Click ▶️
The virtual device starts just like a physical device. Expect this to take a while — potentially several minutes — when the emulator starts for the first time. The virtual device should open beside the code editor.
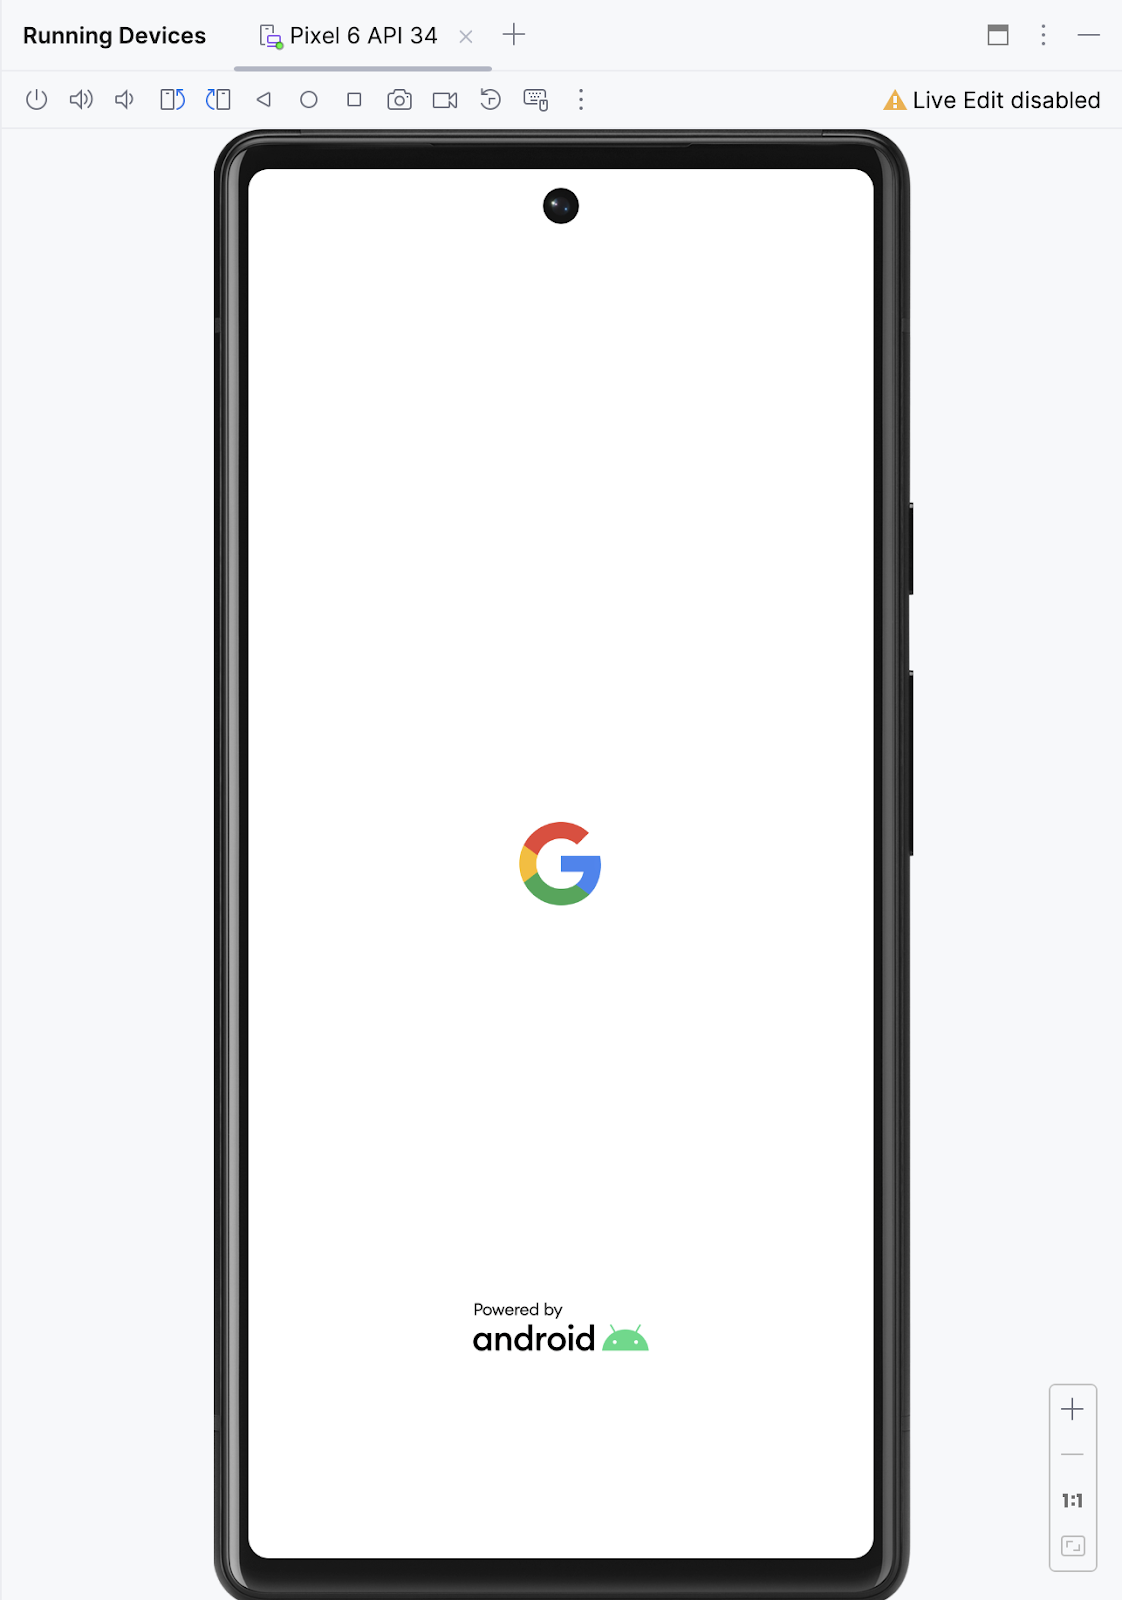
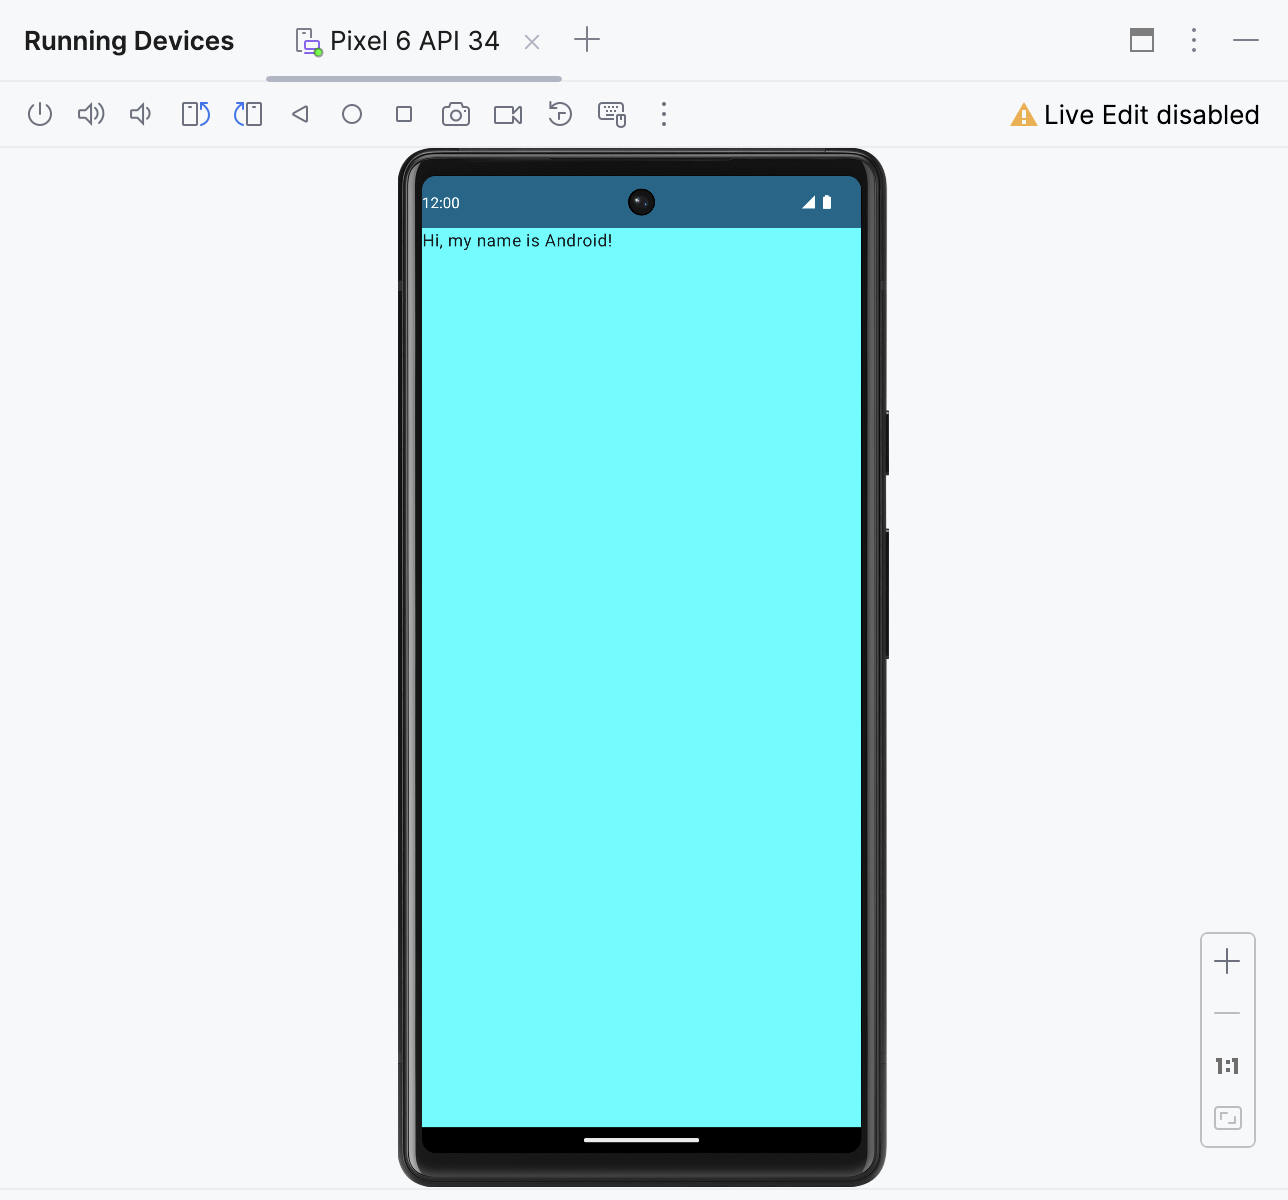
When your app is ready, it opens on the virtual device.
Conclusion
To create an Android Virtual Device, open your project, click Tools > Device Manager, and use the Device Manager to select a hardware device and system image.
To run your app on a virtual device, ensure that you created a device, select the device from the toolbar menu, and click ▶️.