Unit 4 Pathway 2 Activity 2: Navigate between screens with Compose
Before you begin
Up until this point, the apps you’ve worked on consisted of a single screen. However, a lot of the apps you use probably have multiple screens that you can navigate through.
In modern Android development, multiscreen apps are created using the Navigation Compose component. The Navigation Compose component allows you to easily build multi screen apps in Compose using a declarative approach, just like building user interfaces. This codelab introduces the essentials of the Navigation Compose component, how to make the AppBar responsive, and how to send data from your app to another app using intents—all while demonstrating best practices in an increasingly complex app.
Prerequisites
Familiarity with the Kotlin language, including function types, lambdas, and scope functions
Familiarity with basic
RowandColumnlayouts in Compose
What you’ll learn
Create a
NavHostcomposable to define routes and screens in your app.Navigate between screens using a
NavHostController.Manipulate the back stack to navigate to previous screens.
Use intents to share data with another app.
Customize the AppBar, including the title and back button.
What you’ll build
Instead of building the app from the starter code, we’ll jump straight to the solution code and focus on learning how app architecture is implemented, using the solution code as an example.
What you’ll need
The latest version of Android Studio
An internet connection to download the code
Download solution code
Branch: navigation
Clone:
$ git clone https://github.com/google-developer-training/basic-android-kotlin-compose-training-cupcake.git
$ cd basic-android-kotlin-compose-training-cupcake
$ git checkout navigation
App walkthrough
The Cupcake app is a bit different than the apps you’ve worked with so far. Instead of all the content displaying on a single screen, the app has four separate screens, and the user can navigate through each screen while ordering cupcakes.
Start order screen
The first screen presents the user with three buttons that correspond to the quantity of cupcakes to order.
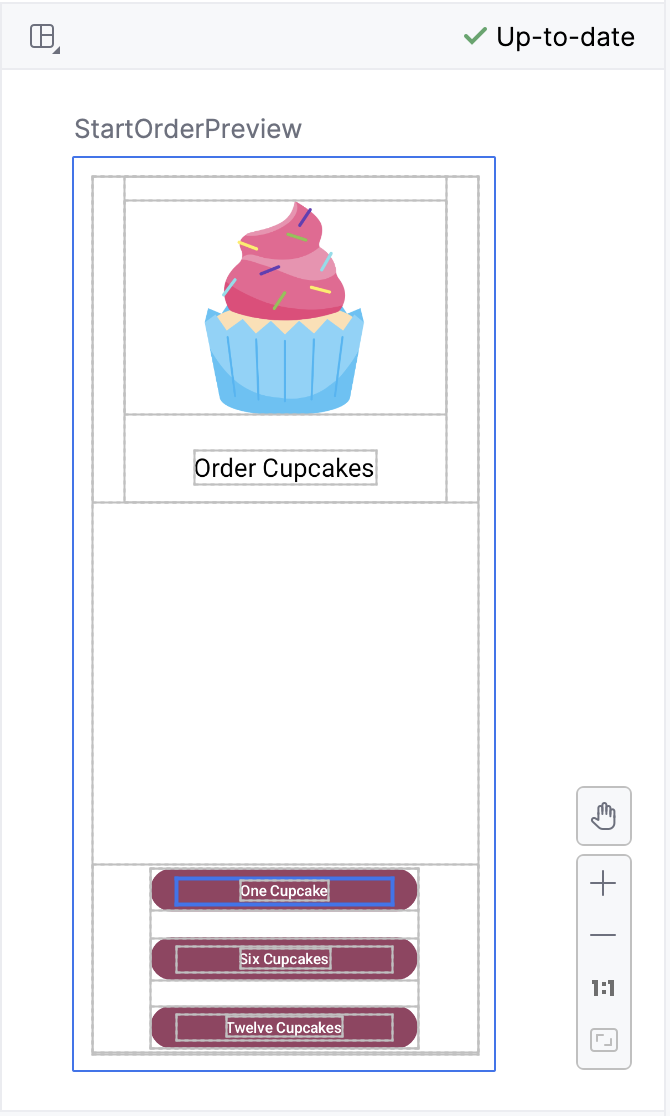
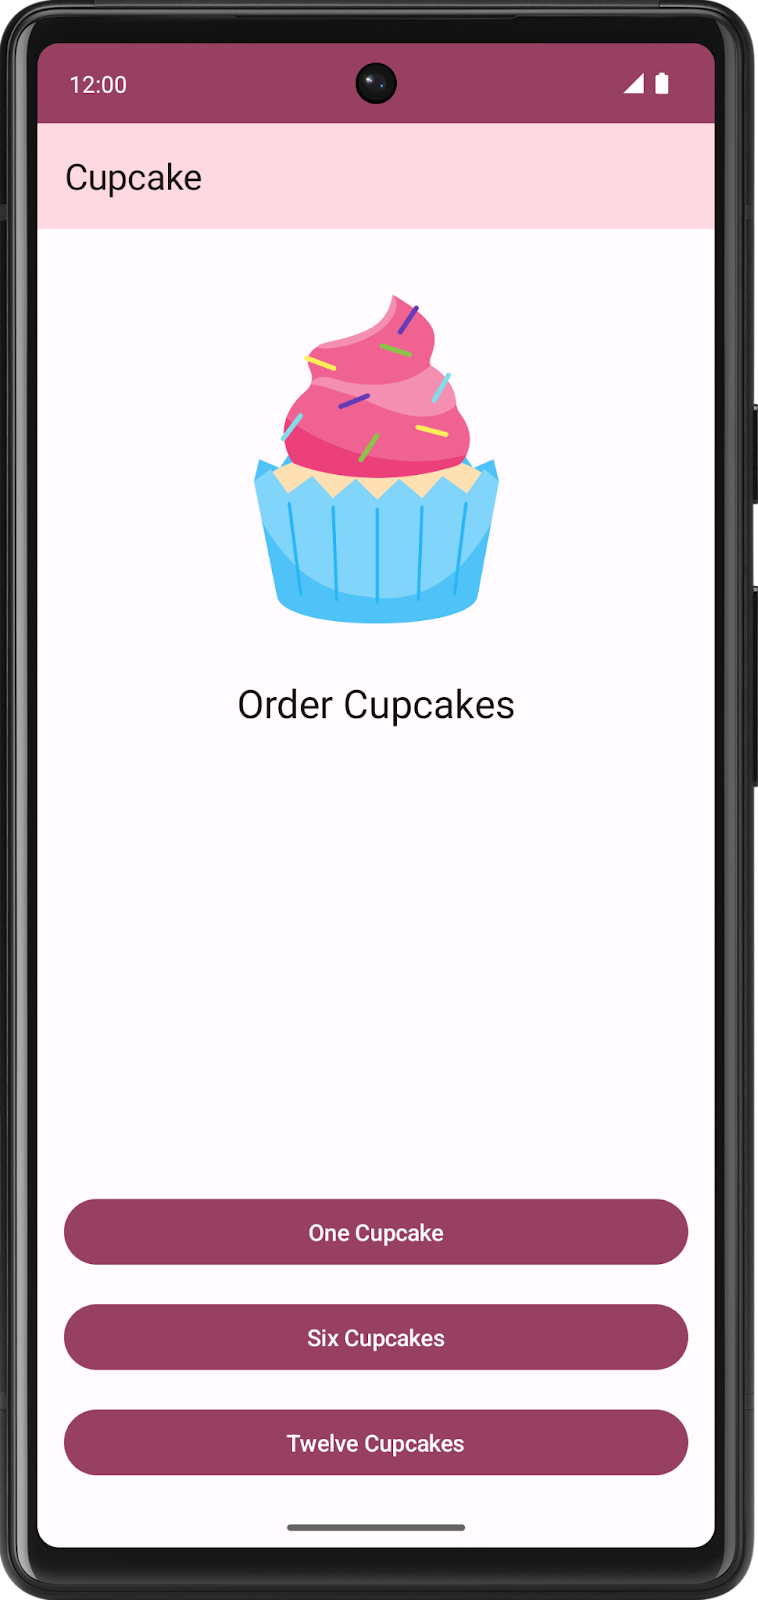
In code, this is represented by the
StartOrderScreencomposable inStartOrderScreen.kt.The screen consists of a single column, with an image and text, along with three custom buttons to order different quantities of cupcakes. The custom buttons are implemented by the
SelectQuantityButtoncomposable, which is also inStartOrderScreen.kt.
Choose flavor screen
After selecting the quantity, the app prompts the user to select a cupcake flavor. The app uses radio buttons to display different options. Users can select one flavor out of a choice of possible flavors.

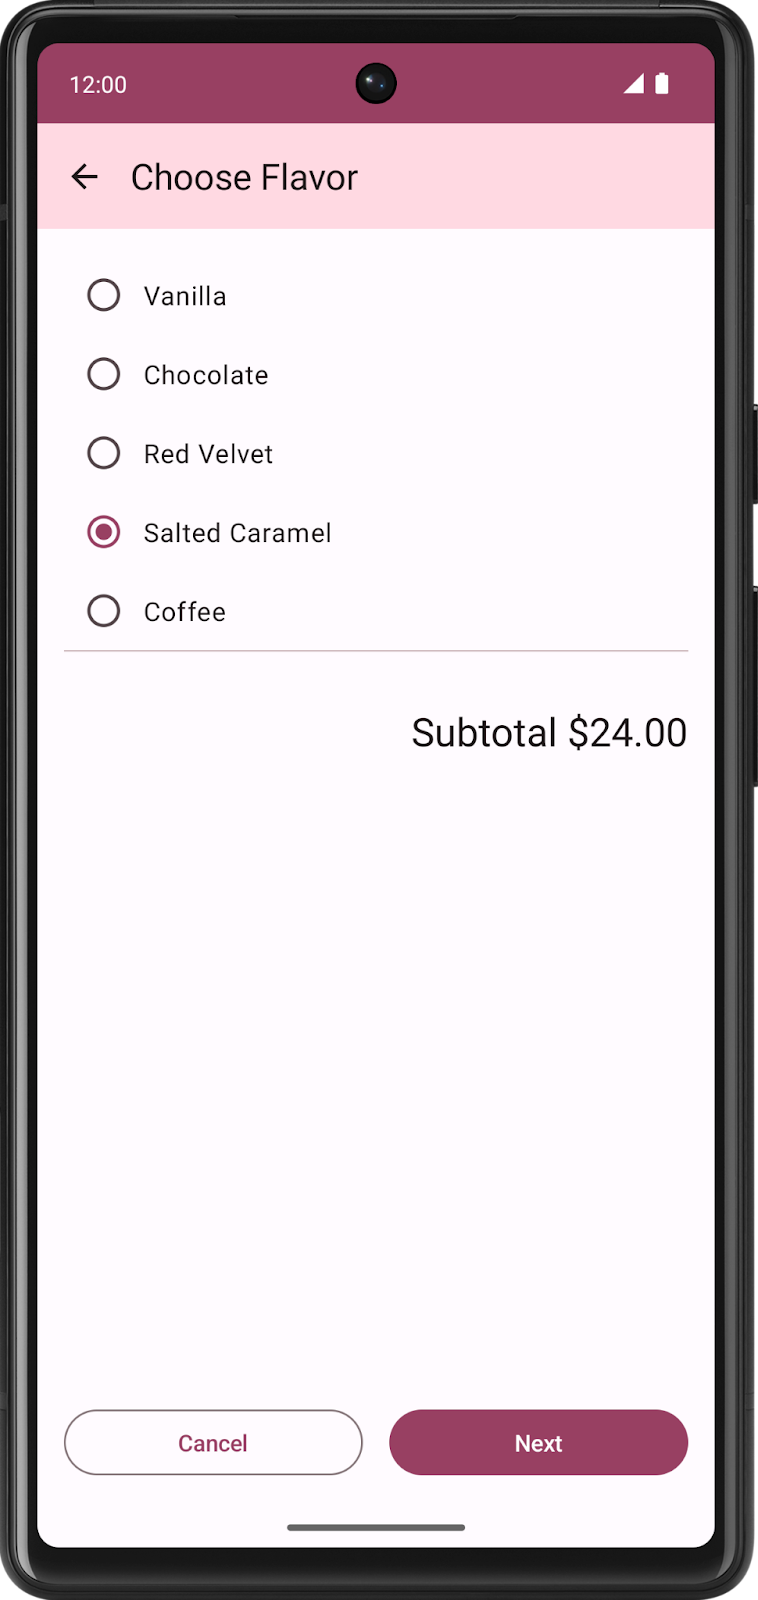
The list of possible flavors is stored as a list of string resource IDs in
data.DataSource.kt.
Choose pickup date screen
After choosing a flavor, the app presents users with another series of radio buttons to select a pickup date. Pickup options come from a list returned by the
pickupOptions()function inOrderViewModel.
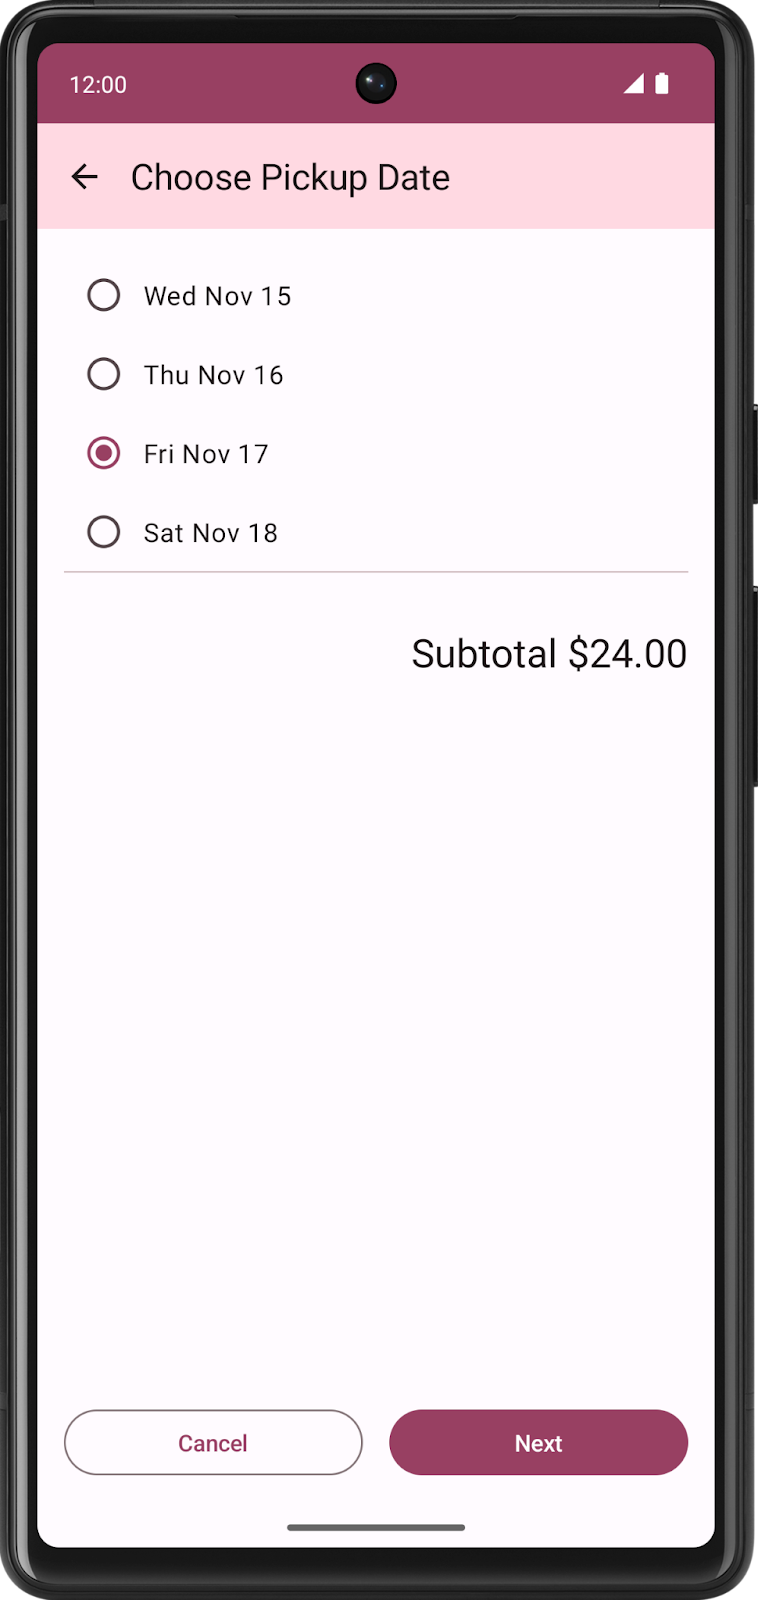
Both the Choose Flavor screen and Choose Pickup Date screen are represented by the same composable,
SelectOptionScreeninSelectOptionScreen.kt. Why use the same composable? The layout of these screens is exactly the same! The only difference is the data, but you can use the same composable to display both the flavor and pickup date screens.
Order Summary screen
After selecting the pickup date, the app displays the Order Summary screen where the user can review and complete the order.
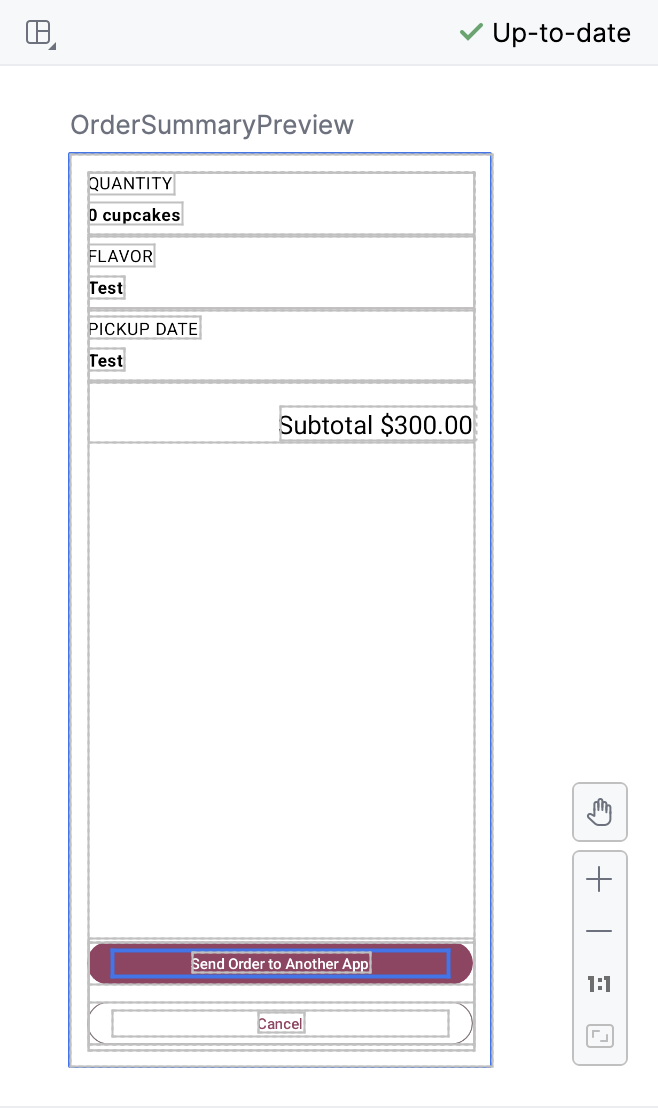
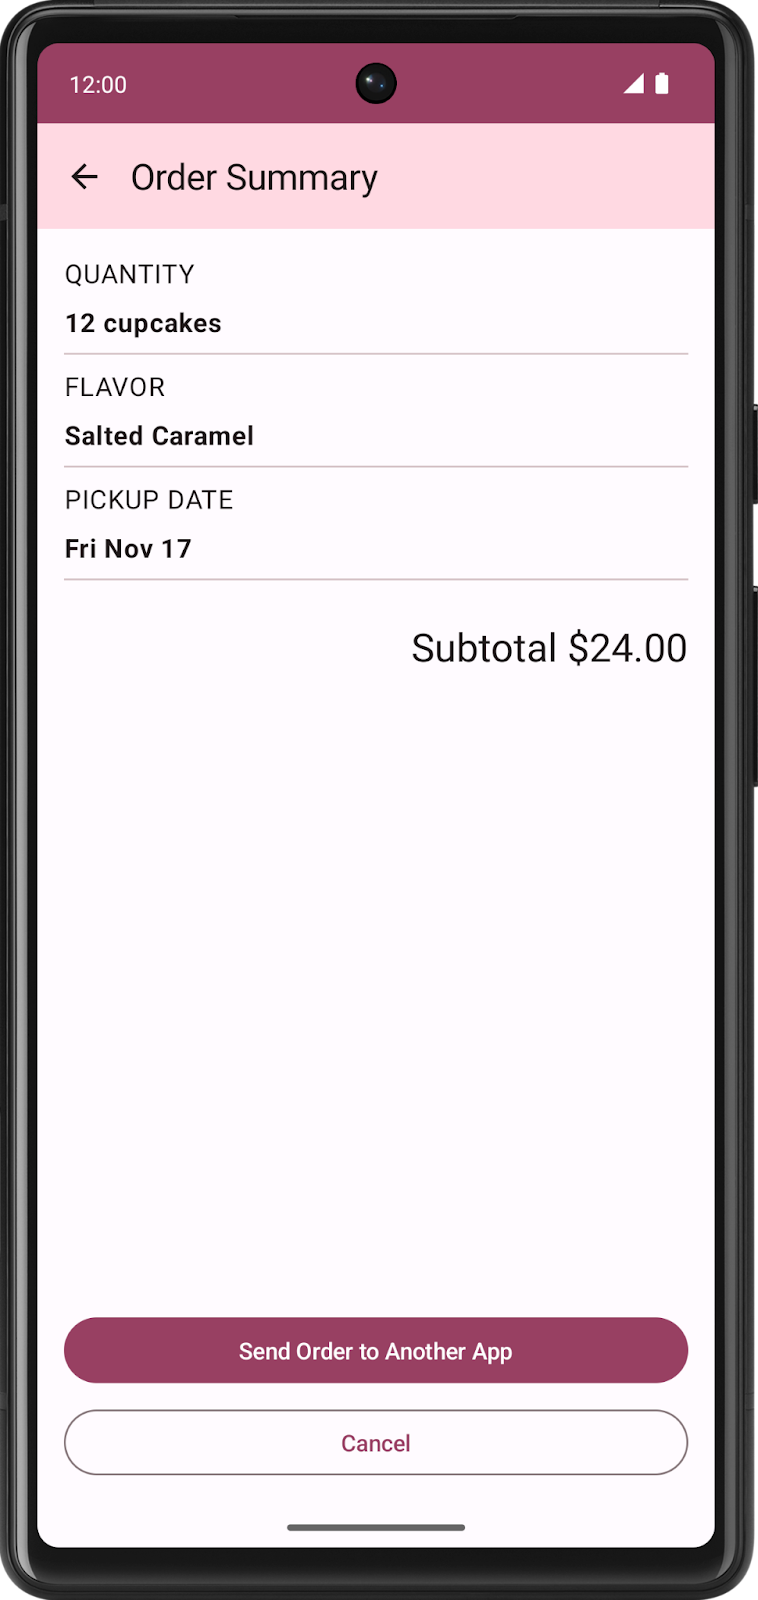
This screen is implemented by the
OrderSummaryScreencomposable inSummaryScreen.kt.The layout consists of a
Columncontaining all the information about their order, aTextcomposable for the subtotal, and buttons to either send the order to another app or cancel the order and return to the first screen.If users choose to send the order to another app, the Cupcake app displays an Android ShareSheet that shows different sharing options.

The current state of the app is stored in
data/OrderUiState.kt. TheOrderUiStatedata class contains properties to store the user’s selections from each screen.The screens of the app will be presented in the
CupcakeAppcomposable.
Reusable composables
Where appropriate, the sample apps in this course are designed to implement best practices. The Cupcake app is no exception. In the
ui.componentspackage, you’ll see a file namedCommonUi.ktthat contains aFormattedPriceLabelcomposable. Multiple screens in the app use this composable to format the order price consistently. Rather than duplicate the sameTextcomposable with the same formatting and modifiers, you can defineFormattedPriceLabelonce and then reuse it as many times as needed for other screens.The flavor and pickup date screens use the
SelectOptionScreencomposable, which is also reusable. This composable takes a parameter namedoptionsof the typeList<String>that represents the options to display. The options appear in aRow, consisting of aRadioButtoncomposable and aTextcomposable containing each string. AColumnsurrounds the entire layout and also contains aTextcomposable to show the formatted price, a Cancel button, and a Next button.
Define routes and create a NavHostController
Define routes for destinations
One of the fundamental concepts of navigation in a Compose app is the route. A route is a string that corresponds to a destination (a screen). This idea is similar to the concept of a URL. Just as a different URL maps to a different page on a website, a route is a string that maps to a destination and serves as its unique identifier.
A destination is typically a single Composable or group of Composables corresponding to what the user sees. The Cupcake app needs destinations for the start order screen, the flavor screen, the pickup date screen, and the order summary screen.
There are a finite number of screens in an app, so there are also a finite number of routes. You can define an app’s routes using an
enum class. Enum classes in Kotlin have anameproperty that returns a string with the property name.The four routes of the Cupcake app are defined in
CupcakeScreen.kt:enum class CupcakeScreen() { Start, Flavor, Pickup, Summary, }
Start: Select the quantity of cupcakes from one of three buttons.
Flavor: Select the flavor from a list of choices.
Pickup: Select the pickup date from a list of choices.
Summary: Review the selections and either send or cancel the order.
A NavHost controller
A NavHost is a Composable that displays other composable destinations, based on a given route. For example, if the route is Flavor, then the
NavHostwould show the screen to choose the cupcake flavor. If the route isSummary, then the app displays the summary screen.The syntax for NavHost:
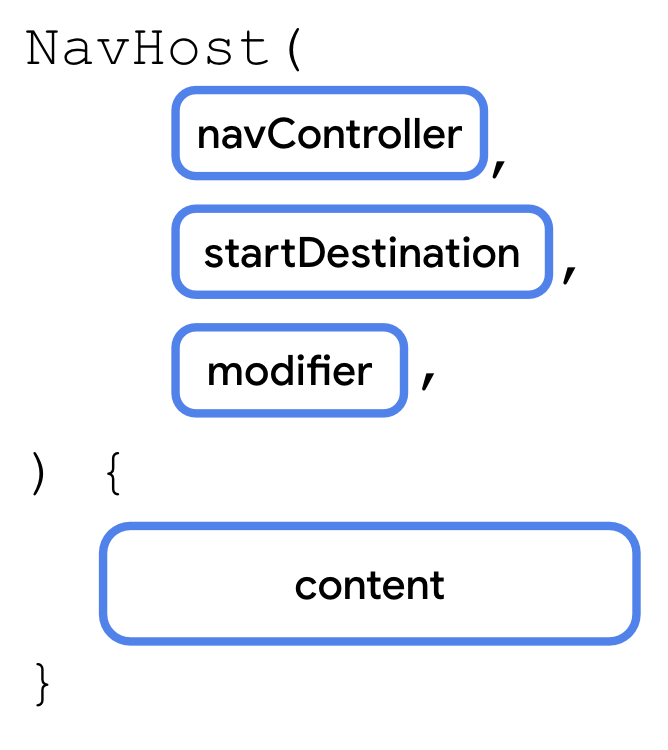
Two notable parameters:
navController: An instance of theNavHostControllerclass. You can use this object to navigate between screens, for example, by calling thenavigate()method to navigate to another destination. You can obtain theNavHostControllerby callingrememberNavController()from a composable function.startDestination: A string route defining the destination shown by default when the app first displays theNavHost. In the case of the Cupcake app, this should be theStartroute.
In CupcakeScreen.kt, the
CupcakeAppcontains thisNavHost:@Composable fun CupcakeApp( viewModel: OrderViewModel = viewModel(), navController: NavHostController = rememberNavController() ) { // ... Scaffold( // ... ) { innerPadding -> val uiState by viewModel.uiState.collectAsState() NavHost( navController = navController, startDestination = CupcakeScreen.Start.name, modifier = Modifier .fillMaxSize() .verticalScroll(rememberScrollState()) .padding(innerPadding) ) { composable(route = CupcakeScreen.Start.name) { StartOrderScreen( quantityOptions = DataSource.quantityOptions, onNextButtonClicked = { viewModel.setQuantity(it) navController.navigate(CupcakeScreen.Flavor.name) }, modifier = Modifier .fillMaxSize() .padding(dimensionResource(R.dimen.padding_medium)) ) } composable(route = CupcakeScreen.Flavor.name) { val context = LocalContext.current SelectOptionScreen( subtotal = uiState.price, onNextButtonClicked = { navController.navigate(CupcakeScreen.Pickup.name) }, onCancelButtonClicked = { cancelOrderAndNavigateToStart(viewModel, navController) }, options = DataSource.flavors.map { id -> context.resources.getString(id) }, onSelectionChanged = { viewModel.setFlavor(it) }, modifier = Modifier.fillMaxHeight() ) } composable(route = CupcakeScreen.Pickup.name) { SelectOptionScreen( subtotal = uiState.price, onNextButtonClicked = { navController.navigate(CupcakeScreen.Summary.name) }, onCancelButtonClicked = { cancelOrderAndNavigateToStart(viewModel, navController) }, options = uiState.pickupOptions, onSelectionChanged = { viewModel.setDate(it) }, modifier = Modifier.fillMaxHeight() ) } composable(route = CupcakeScreen.Summary.name) { val context = LocalContext.current OrderSummaryScreen( orderUiState = uiState, onCancelButtonClicked = { cancelOrderAndNavigateToStart(viewModel, navController) }, onSendButtonClicked = { subject: String, summary: String -> shareOrder(context, subject = subject, summary = summary) }, modifier = Modifier.fillMaxHeight() ) } } } }
Handle routes
Like other composables,
NavHosttakes a function type for its content.Within the content function of a
NavHost, call thecomposable()function as many times as needed, once for each route.Each
composable()function has two required parameters.route: A string corresponding to the name of a route. This can be any unique string. You’ll use the name property of theenum class CupcakeScreen()constants.content: Here you can call a composable that you want to display for the given route.
It has similar feels to Flask and Spring Boot.
The route handling code:
@Composable
fun CupcakeApp(
    viewModel: OrderViewModel = viewModel(),
    navController: NavHostController = rememberNavController()
) {
    // ...

    Scaffold(

        // ...

    ) { innerPadding ->
        val uiState by viewModel.uiState.collectAsState()

        NavHost(

          // ...

        ) {
            composable(route = CupcakeScreen.Start.name) {
                StartOrderScreen(
                    quantityOptions = DataSource.quantityOptions,
                    onNextButtonClicked = {
                        viewModel.setQuantity(it)
                        navController.navigate(CupcakeScreen.Flavor.name)
                    },
                    modifier = Modifier
                        .fillMaxSize()
                        .padding(dimensionResource(R.dimen.padding_medium))
                )
            }

            composable(route = CupcakeScreen.Flavor.name) {
                // Context is an abstract class provided by the Android system. It allows access to application-specific resources and classes. You can use this variable to get the strings from the list of resource IDs in the view model, to display the list of flavors.
                val context = LocalContext.current
                SelectOptionScreen(
                    subtotal = uiState.price,
                    onNextButtonClicked = { navController.navigate(CupcakeScreen.Pickup.name) },
                    onCancelButtonClicked = {
                        cancelOrderAndNavigateToStart(viewModel, navController)
                    },
                    options = DataSource.flavors.map { id -> context.resources.getString(id) },
                    onSelectionChanged = { viewModel.setFlavor(it) },
                    modifier = Modifier.fillMaxHeight()
                )
            }

            composable(route = CupcakeScreen.Pickup.name) {
                SelectOptionScreen(
                    subtotal = uiState.price,
                    onNextButtonClicked = { navController.navigate(CupcakeScreen.Summary.name) },
                    onCancelButtonClicked = {
                        cancelOrderAndNavigateToStart(viewModel, navController)
                    },
                    options = uiState.pickupOptions,
                    onSelectionChanged = { viewModel.setDate(it) },
                    modifier = Modifier.fillMaxHeight()
                )
            }

            composable(route = CupcakeScreen.Summary.name) {
                val context = LocalContext.current
                OrderSummaryScreen(
                    orderUiState = uiState,
                    onCancelButtonClicked = {
                        cancelOrderAndNavigateToStart(viewModel, navController)
                    },
                    onSendButtonClicked = { subject: String, summary: String ->
                        shareOrder(context, subject = subject, summary = summary)
                    },
                    modifier = Modifier.fillMaxHeight()
                )
            }
        }
    }
}
Navigate between routes
There are 4 screens in the Cupcake app, and each screen has 1 or more buttons that navigate to the next screen.
To navigate between screens, we need to tell the
NavHostControllerthat the user has tapped a button. To do so, we make each button press callNavHostController.navigate(wtv_route_to_navigate_to)to tell it where to navigate to.This ensures that the screens can just focus on displaying UI elements. They don’t have to handle the navigation logic, it’s all taken care of by the
NavHostController.
Navigate to another route
To navigate to another route, call
NavHostController.navigate():
navigate()takes a single parameter: aStringcorresponding to a route defined inNavHost. If the route exists, the app navigates to that screen.The relevant code in
CupcakeScreen.kt:@Composable fun CupcakeApp( viewModel: OrderViewModel = viewModel(), navController: NavHostController = rememberNavController() ) { // Get current back stack entry val backStackEntry by navController.currentBackStackEntryAsState() // Get the name of the current screen val currentScreen = CupcakeScreen.valueOf( backStackEntry?.destination?.route ?: CupcakeScreen.Start.name ) // ... NavHost( navController = navController, startDestination = CupcakeScreen.Start.name, modifier = Modifier .fillMaxSize() .verticalScroll(rememberScrollState()) .padding(innerPadding) ) { composable(route = CupcakeScreen.Start.name) { StartOrderScreen( // ... onNextButtonClicked = { viewModel.setQuantity(it) navController.navigate(CupcakeScreen.Flavor.name) }, // ... ) } composable(route = CupcakeScreen.Flavor.name) { // ... SelectOptionScreen( // ... onNextButtonClicked = { navController.navigate(CupcakeScreen.Pickup.name) }, onCancelButtonClicked = { cancelOrderAndNavigateToStart(viewModel, navController) }, // ... ) } composable(route = CupcakeScreen.Pickup.name) { SelectOptionScreen( // ... onNextButtonClicked = { navController.navigate(CupcakeScreen.Summary.name) }, onCancelButtonClicked = { cancelOrderAndNavigateToStart(viewModel, navController) }, // ... ) } composable(route = CupcakeScreen.Summary.name) { val context = LocalContext.current OrderSummaryScreen( // ... onCancelButtonClicked = { cancelOrderAndNavigateToStart(viewModel, navController) }, onSendButtonClicked = { subject: String, summary: String -> shareOrder(context, subject = subject, summary = summary) }, // ... ) } } } }
This code enables navigation through each screen of the app. By calling navigate(), the screen changes. The app stacks each screen on top of the previous one, and the back button removes one screen from the stack. The history of screens from the
startDestinationat the bottom to the topmost screen that was just shown is known as the back stack. The back stack remembers which screens appeared, so that when you press the system back button, you can navigate back to the previous screen.
Pop to the start screen
Unlike the system back button, the Cancel button doesn’t go back to the previous screen. Instead, it should pop all screens from the back stack and return to the starting screen.
This is done by calling
popBackStack()
popBackStack()has two required parameters:route: The string representing the route of the destination you want to navigate back to.inclusive: A Boolean value that, if true, also pops (removes) the specified route. If false,popBackStack()will remove all destinations on top of — but not including — the start destination, leaving it as the topmost screen visible to the user.
When users press the Cancel button on any of the screens, the app resets the state in the view model and calls
popBackStack().This function is passed to the
onCancelButtonClickedparameter of the NavHost composables.private fun cancelOrderAndNavigateToStart( viewModel: OrderViewModel, navController: NavHostController ) { // Reset UI state viewModel.resetOrder() // Go back to the start screen navController.popBackStack(CupcakeScreen.Start.name, inclusive = false) }
Navigate to another app
There’s one other step to implement navigation in the Cupcake app. On the order summary screen, the user can send their order to another app. This selection brings up a ShareSheet — a user interface component covering part of the screen, that shows sharing options.
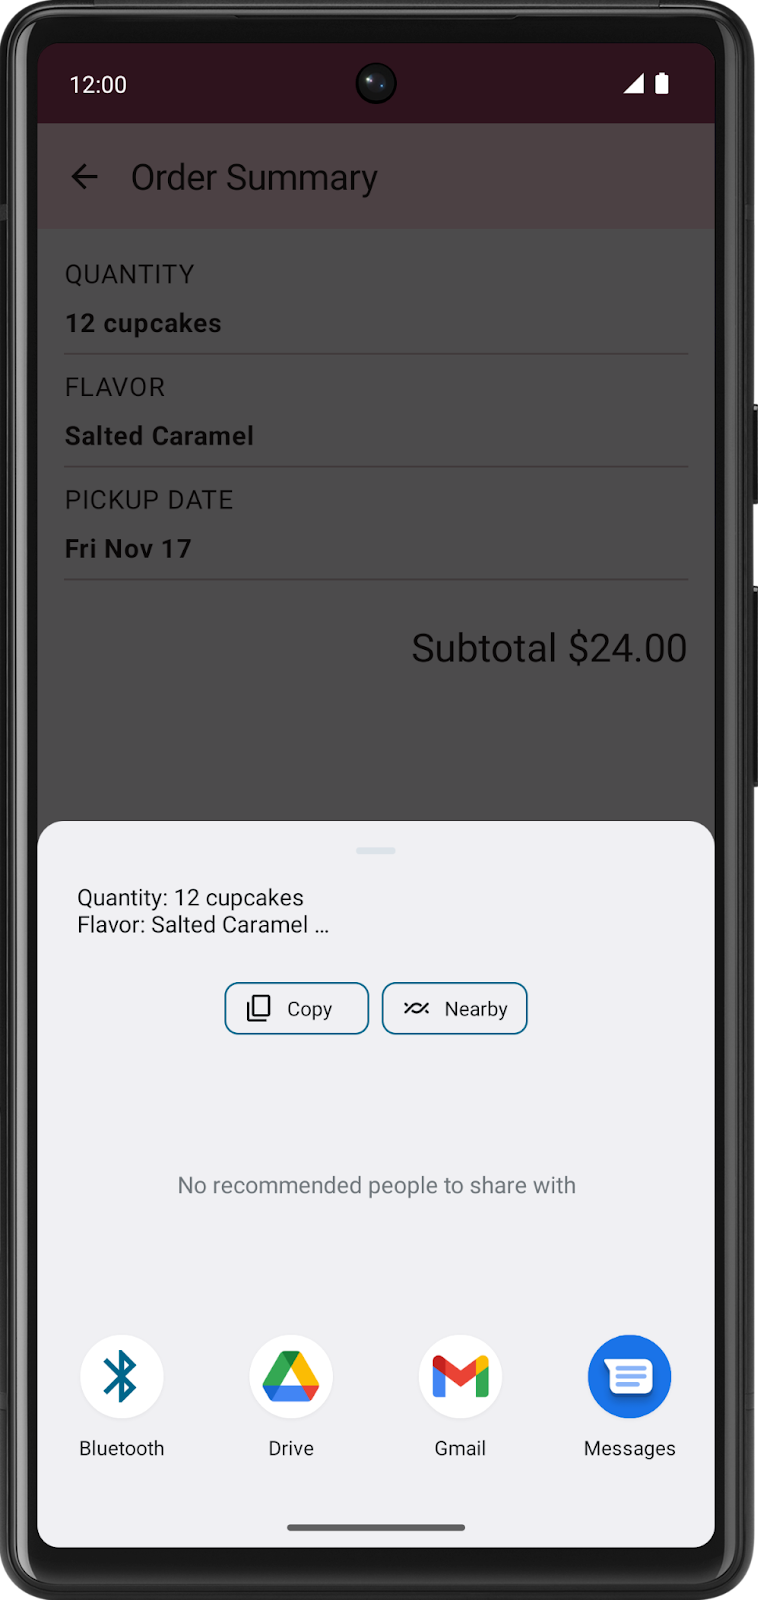
This piece of UI isn’t part of the Cupcake app. It’s provided by the Android operating system. System UI, such as the sharing screen, isn’t called by the
navController. Instead, you use something called an Intent.An intent is a request for the system to perform some action, commonly presenting a new activity. We are interested in the intent called
ACTION_SEND. You can supply this intent with some data, such as a string, and present appropriate sharing actions for that data.The basic process for setting up intents in general:
Create an intent object and specify the intent, such as
ACTION_SEND.Specify the type of additional data being sent with the intent. For a simple piece of text, you can use
"text/plain", though other types, such as"image/*"or"video/*", are available.Pass any additional data to the intent, such as the text or image to share, by calling the
putExtra()method. This intent will take two extras:EXTRA_SUBJECTandEXTRA_TEXT.Call the
startActivity()method of context, passing in an activity created from the intent.
For future projects, you’re encouraged to refer to the documentation as needed for the specific type of data and necessary extras.
The code:
private fun shareOrder(context: Context, subject: String, summary: String) {
    // Create an ACTION_SEND implicit intent with order details in the intent extras
    val intent = Intent(Intent.ACTION_SEND).apply {
        type = "text/plain"
        putExtra(Intent.EXTRA_SUBJECT, subject)
        putExtra(Intent.EXTRA_TEXT, summary)
    }
    context.startActivity(
        Intent.createChooser(
            intent,
            context.getString(R.string.new_cupcake_order)
        )
    )
}